Main image courtesy of @ Mark Galer
Basic Principles

The histogram is a representation of ‘light values’ that are recorded in your image. This appears as a curve where the higher the point on the curve, the more of that particular ‘light value’ is present in your image.
The left of the histogram represents darker light values with the far left representing the colour black.
The right of the histogram represents brighter light values with the far right representing the colour white.
The middle of the histogram represents ‘midtones’.
How a histogram should look
The ‘safest’ histogram appearance is when most of the information appears clumped in the middle of the histogram. This represents that your image is exposed for midtones of the scene.
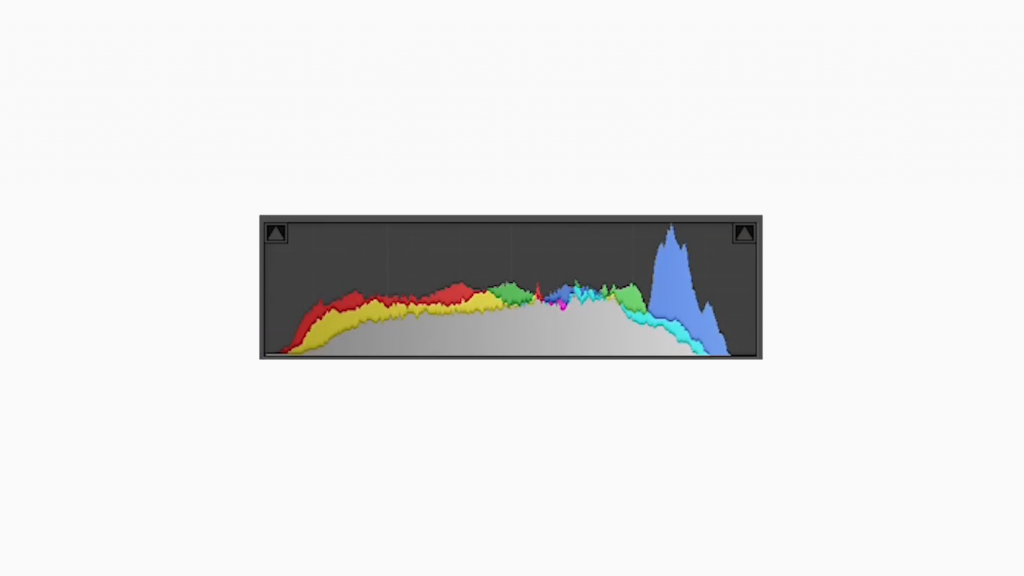
The term ‘clipping’ refers to when an image has so much information at one end of the histogram, the histogram curve ends as an abrupt vertical line meaning that there is light in the scene that is not able to be recorded.

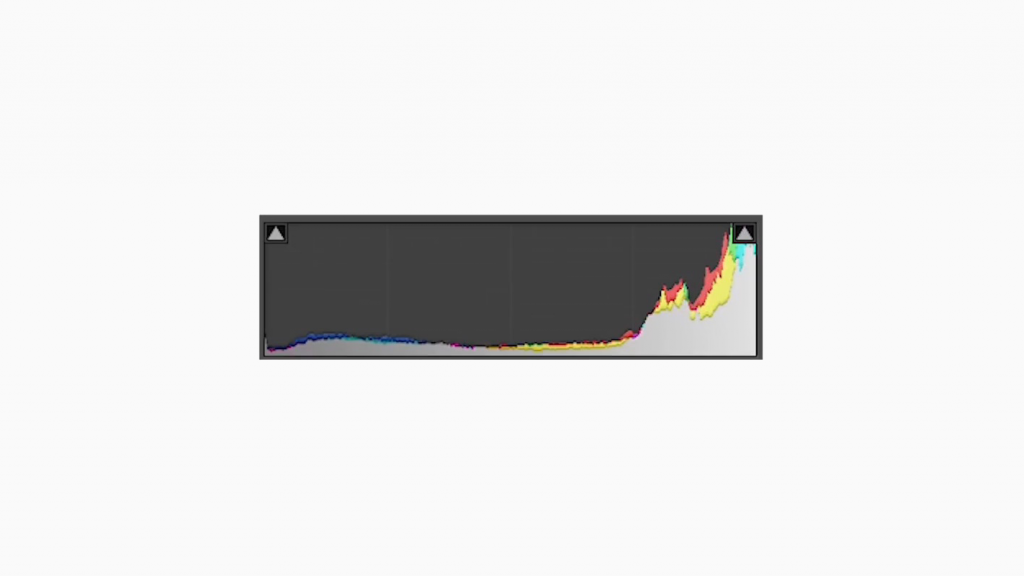
High-key images are images that have most of the information appearing on the right of the histogram with little to none of the curve on the left of the image. Shooting in this manner is often referred to as ‘exposing to the right’ and was seen as the more desirable way to shoot in the past as no information was lost as shadows while ‘clipped highlights’ are often used artistically.
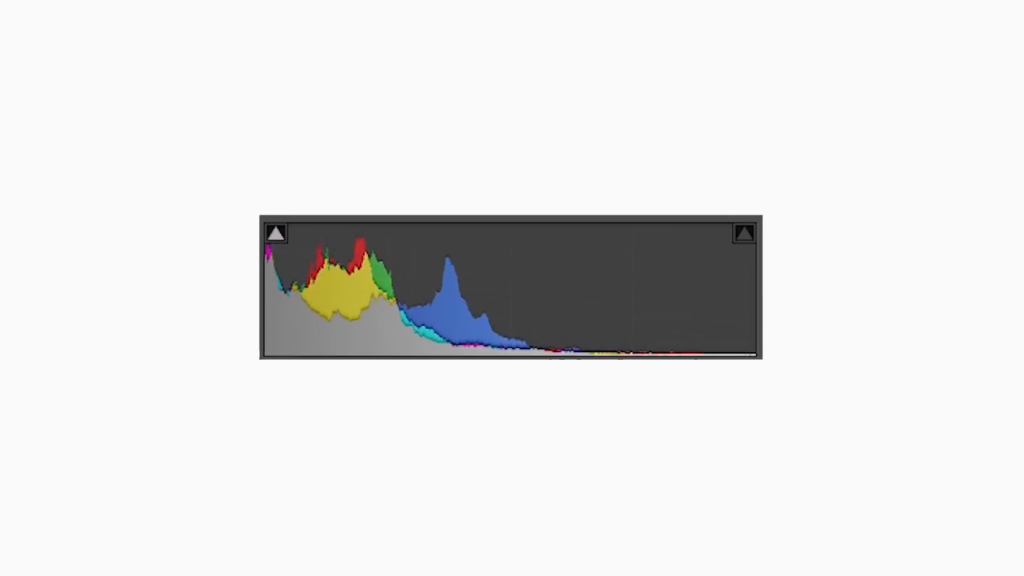
Low-key images are images that have most of the information appearing on the left of the histogram with little information on the right of the image. Shooting in this manner is often referred to as ‘exposing to the left’ and is seen as an acceptable way to shoot for those owning DSLRs with excellent dynamic range and hence shadow recovery. Many landscape photographers in particular, shoot to the left in order to prevent ‘clipped highlights’.
The role of filters in changing the histogram appearance
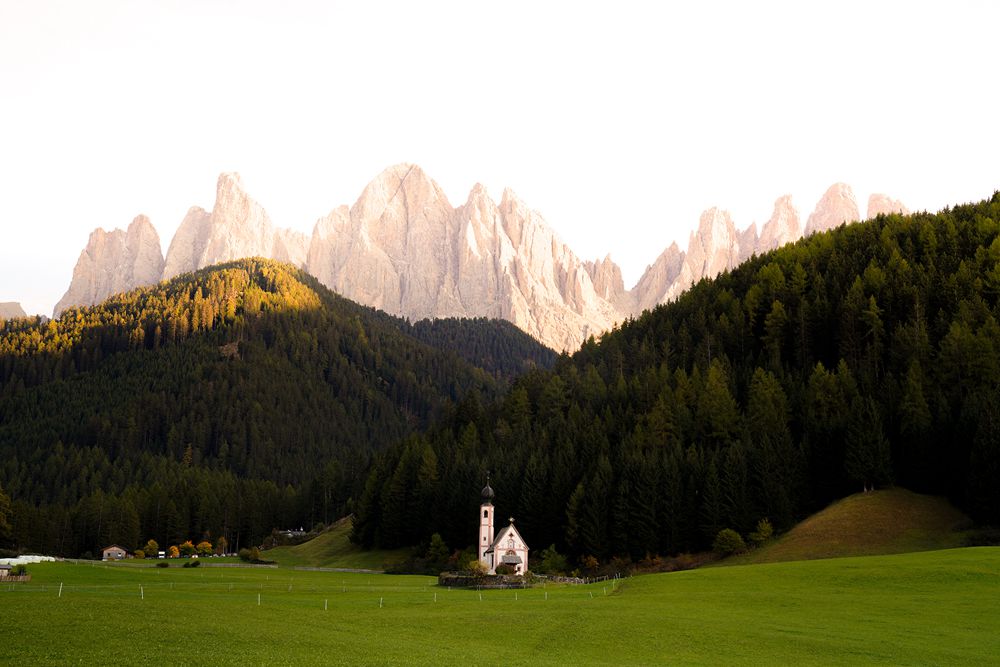
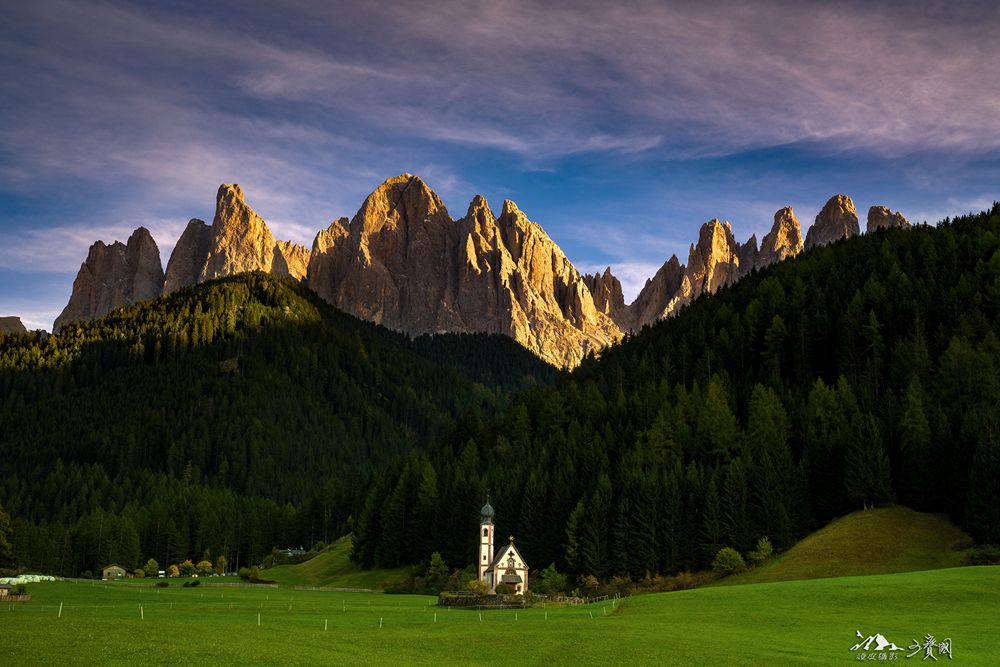
@ Baoguo Wang Shot with NiSi Soft GND 32
The role of a GND filter is usually to increase the ability of the photographer to capture a scene’s entire dynamic range in one shot.
This gives the benefit of being able to expose correctly for a dark foreground which avoids clipping of shadows, while avoiding clipping of highlights on the right of the histogram by darkening the brighter parts of the scene – usually the sky.
NiSi Reverse Edge Graduated ND Filter – How & When to Use
The above article was created by Dylan Toh

